
Higger Tor - Peak District Walk
Thursday 13th October 2022
The previous walk came close to being the final walk on the website as a little over three weeks ago I went into anaphylactic shock. Thanks to two nurses, one of whom was my daughter-in-law, who both recognised I was much sicker than I thought, I was in hospital at the time and able to get the shots of adrenaline I needed immediately. You can't beat the NHS when it is a real emergency. The weight of my rucksack is a little heavier now as I have to carry two epi-pens, which I hope to never have to use.
Today's walk was chosen as a warm-up for our holiday in Northumberland next week and as a way of ticking off one of the Ethels, although I have visited this Ethel summit numerous times before. Thanks to a RPS Zoom course I was meant to be on today being cancelled I got to enjoy a warm sunny walk instead of the cloudy day that is predicted for tomorrow, when I originally planned to do the walk.
Start: Upper Burbage Bridge (SK 2596 8297)
Route: Upper Burbage Bridge - Burbage Edge - Carl Wark - Higger Tor - Fiddler's Elbow - Upper Burbage Bridge
Distance: 3.25 miles Ascent: 214 metres Time Taken: 2 hrs 32 mins
Terrain: Clear paths with some scrambling
Weather: Sunny and warm
Pub Visited: None Ale Drunk: None
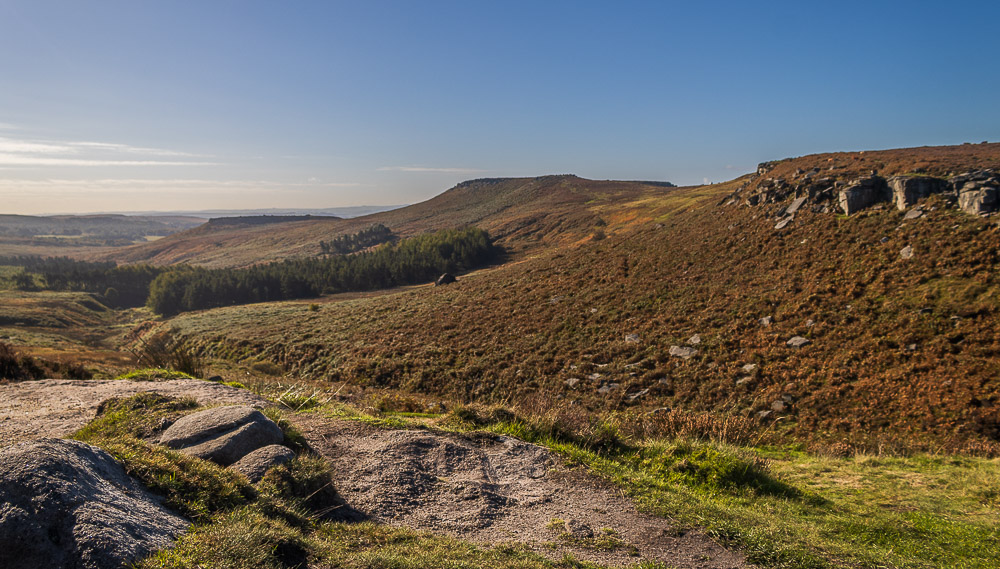
Having passed through the gate I take the path along the top of Burbage Rocks and soon begin to realise just how warm it is. I certainly didn't expect it to be a T-shirt day when I planned this walk.
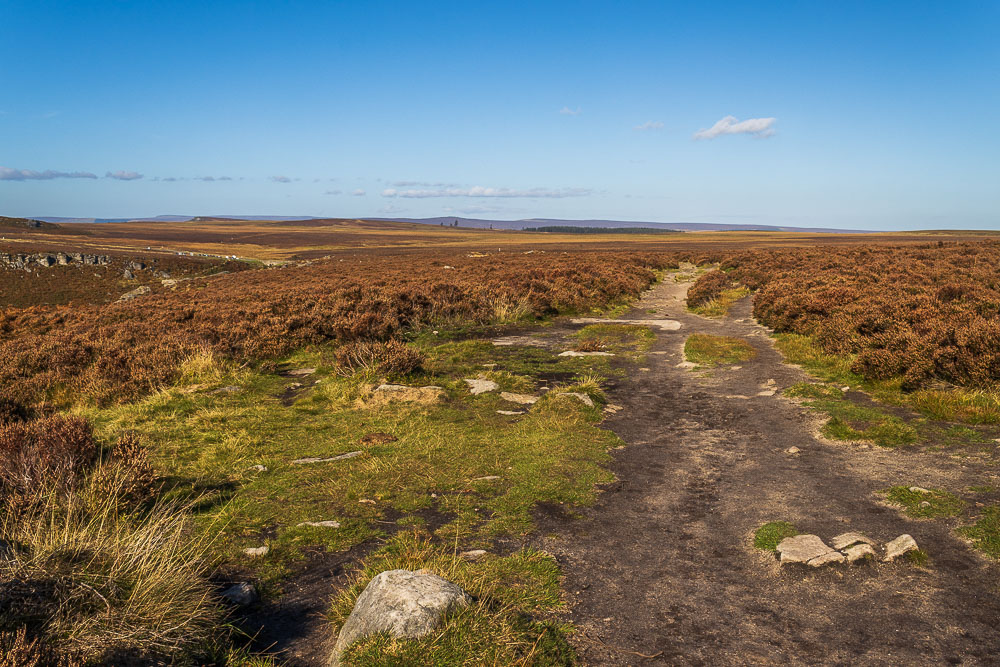
Looking back along the path towards Stanedge Pole where a distant High Neb is also visible.
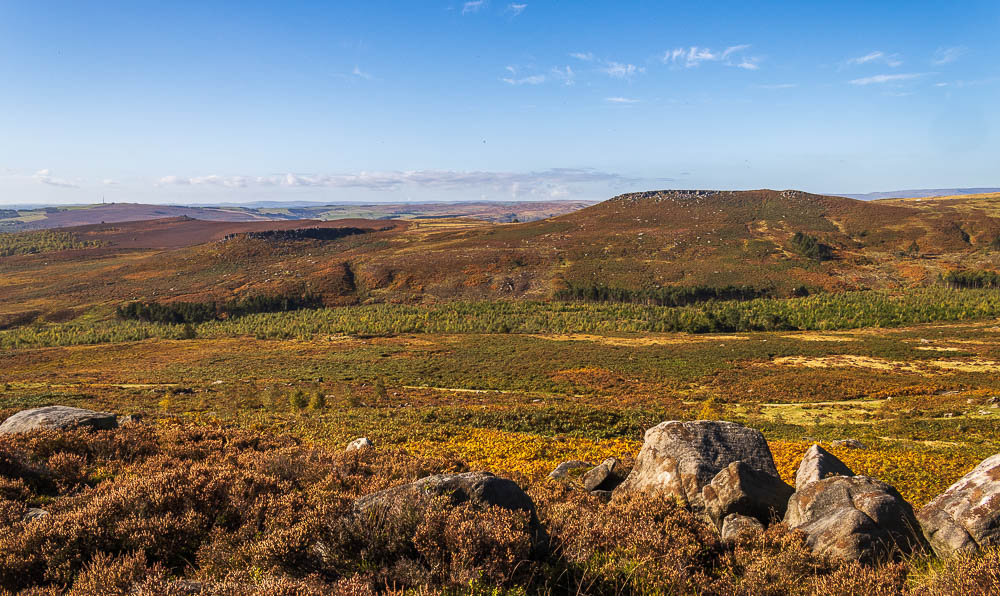
My target today is in the opposite direction, I want to officially 'bag' Higger Tor. At this point I haven't decided if I'll visit Carl Wark.
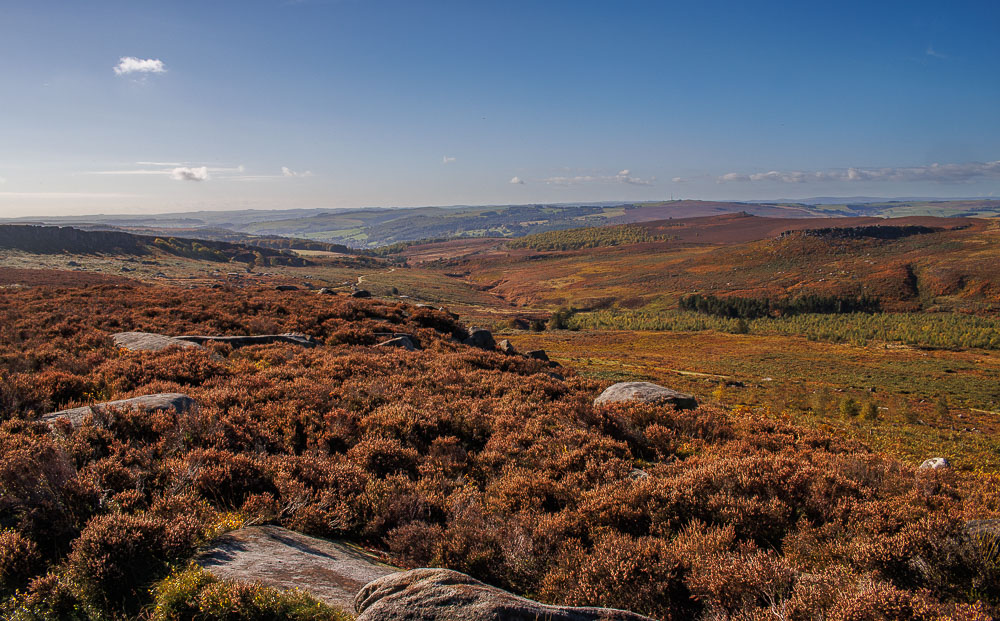
Although, annoyingly for the camera, I'm looking into the sun for a lot of the walk, the views along the valley are wonderful.
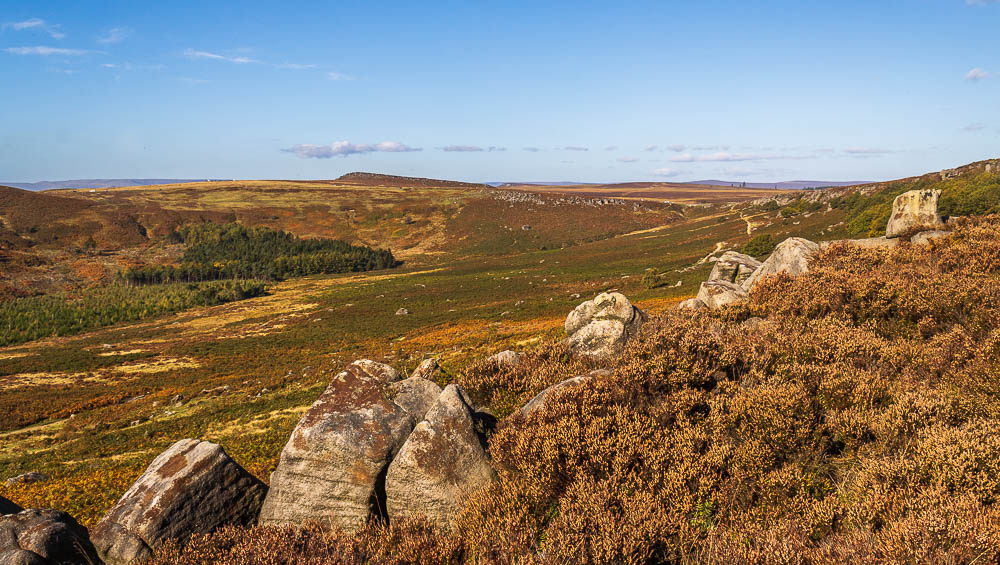
Looking back, across the valley, towards Cowper Stone.
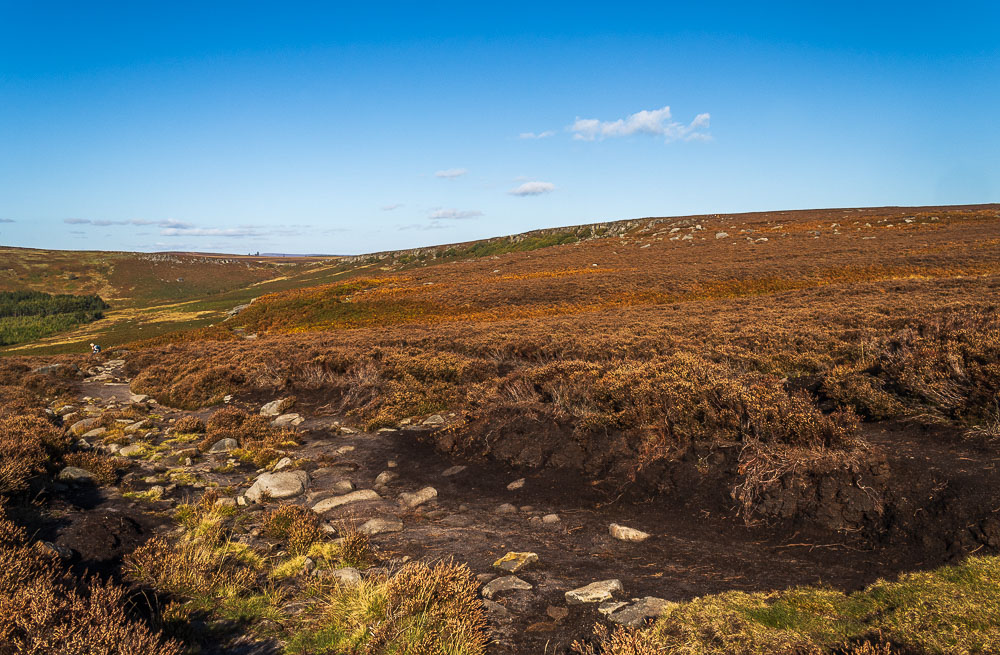
Looking back along Burbage Rocks just before I begin the descent down to the valley floor.
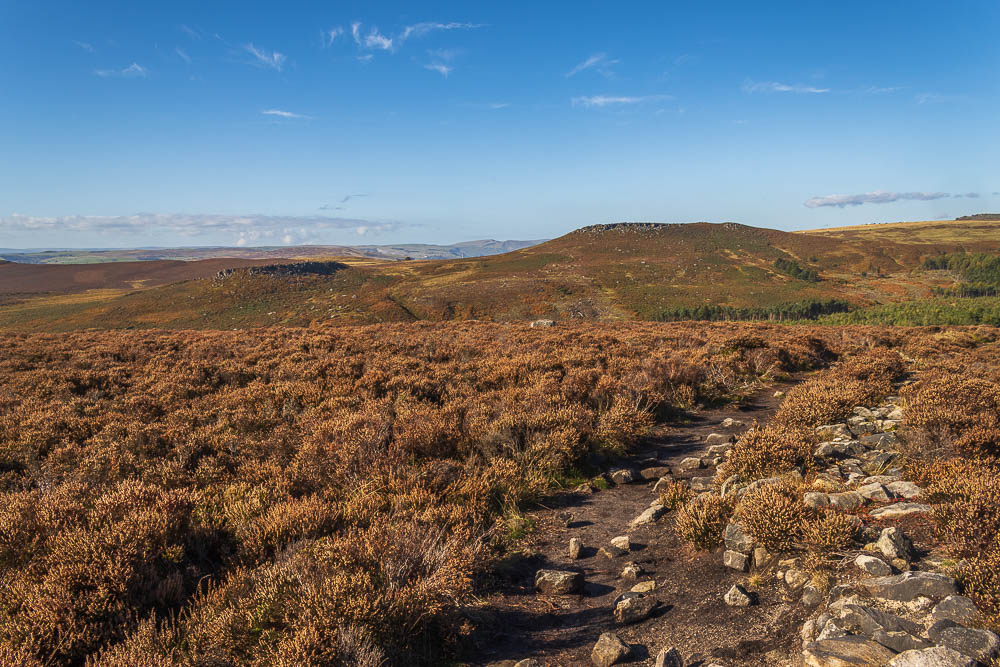
Higger Tor and Carl Wark from the same spot.
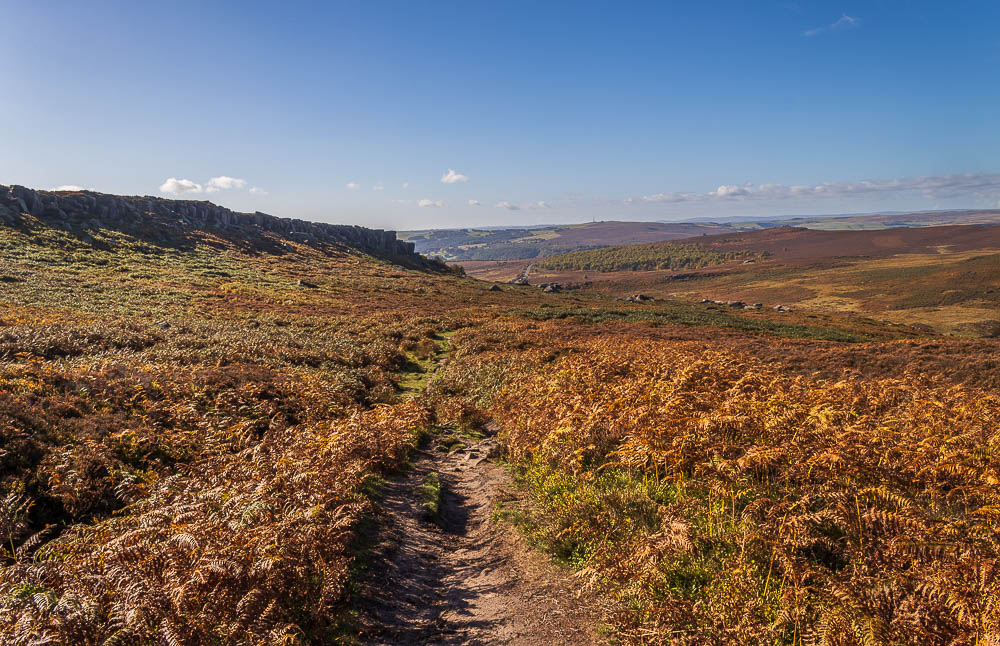
As I descend I begin to spot some of the distant place markers like the tower close to the summit of Sir William Hill and Mother Cap.
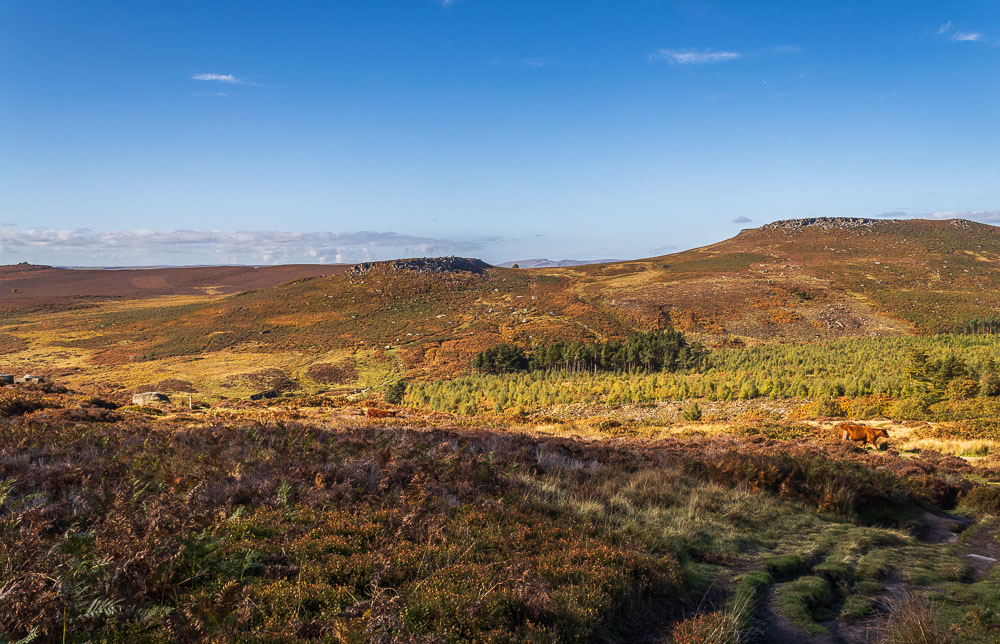
As I'm about to hit the main path below Burbage Rocks I spot some cows ambling along it, rather than risk upsetting them I take my time and let them head along the path before I join it.
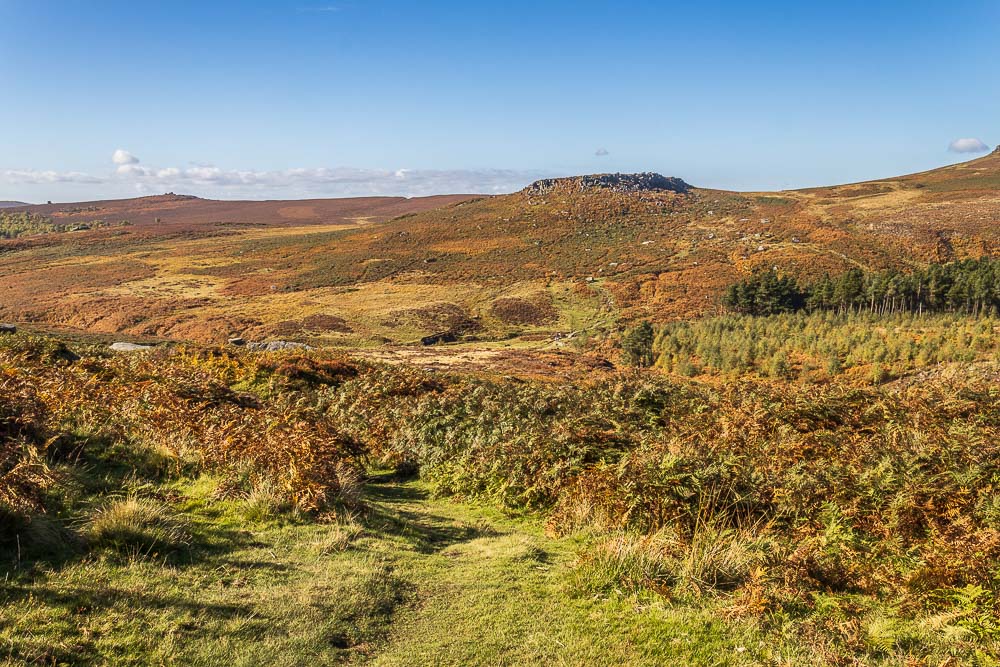
Carrying on down towards the bottom of the valley and I still haven't decided if I'm going up to Cark Wark or not.
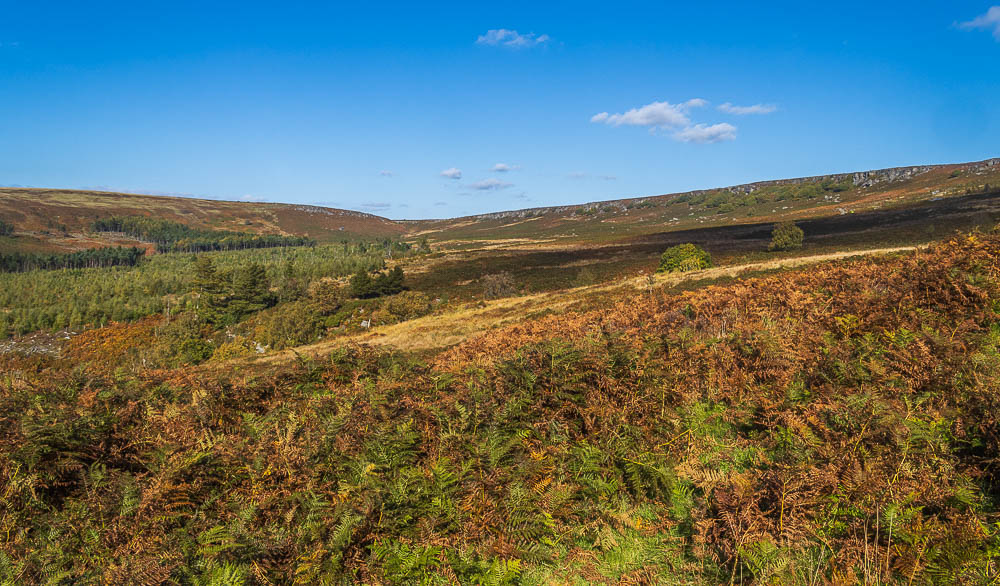
Looking along the valley towards Upper Burbage Bridge as I approach the bottom of the valley floor.
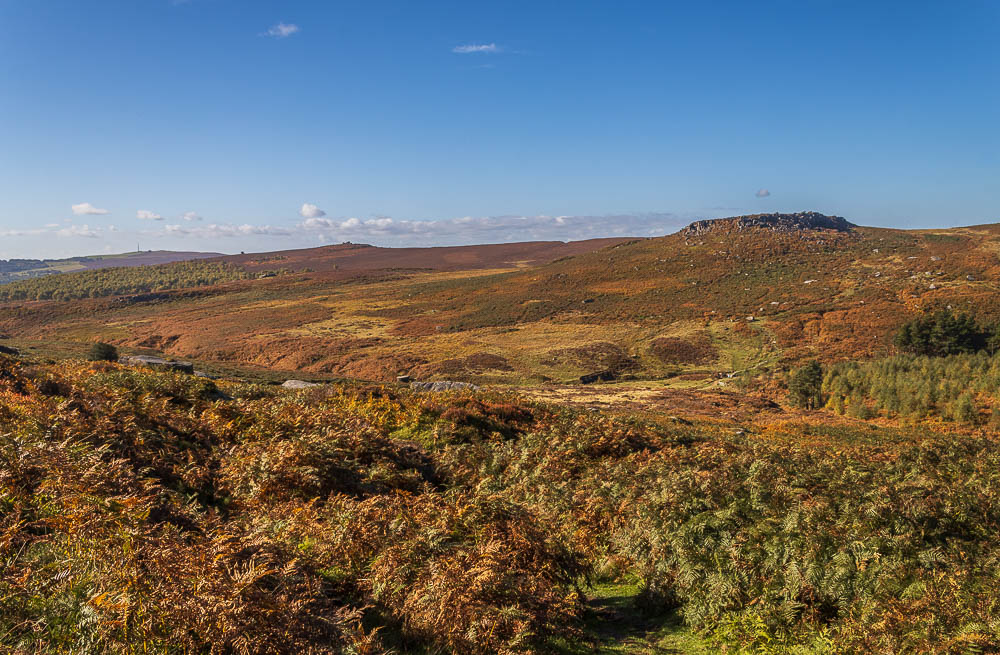
As Over Owler Tor becomes more prominent I wonder if I should have made the route longer and included it in the walk.
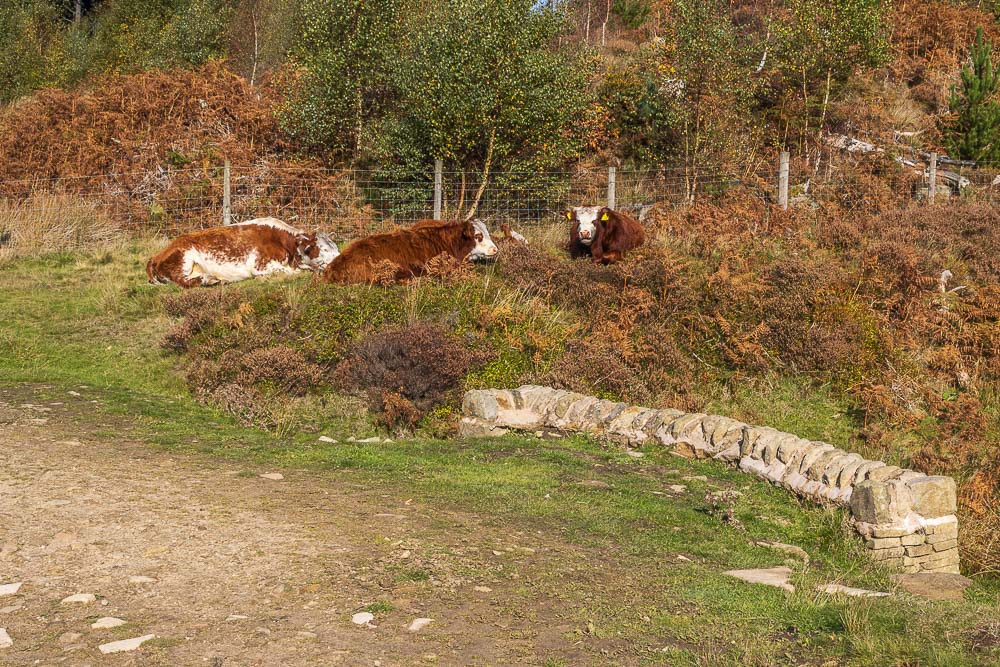
As I'd been dropping down I'd also spotted the cows, who seemed to be sunbathing by the path. They certainly had no interest in any of the humans passing by them.
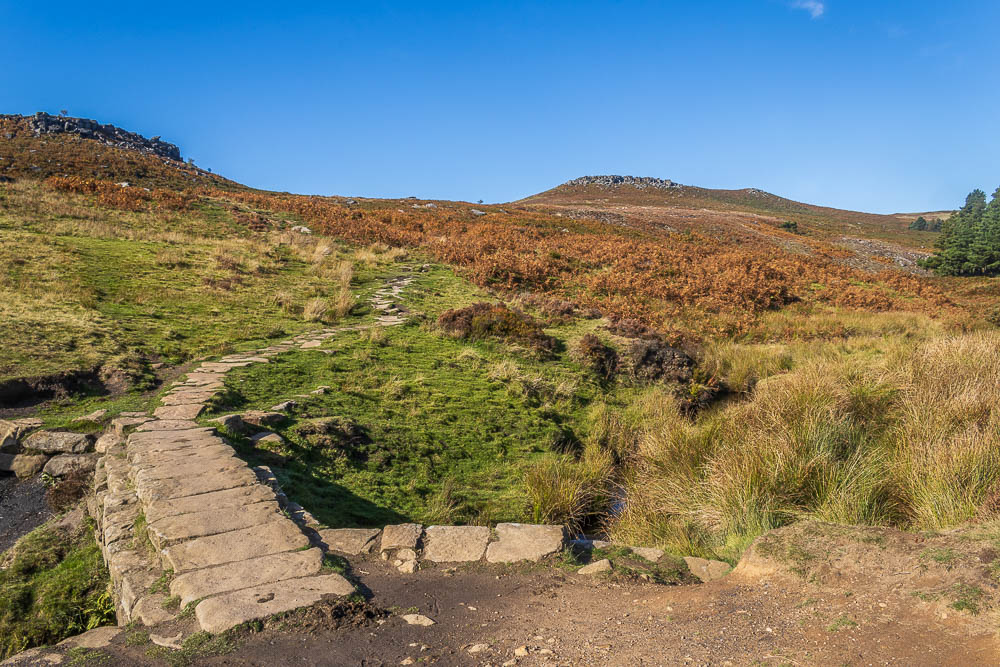
Time to start the ascent to Higger Tor.
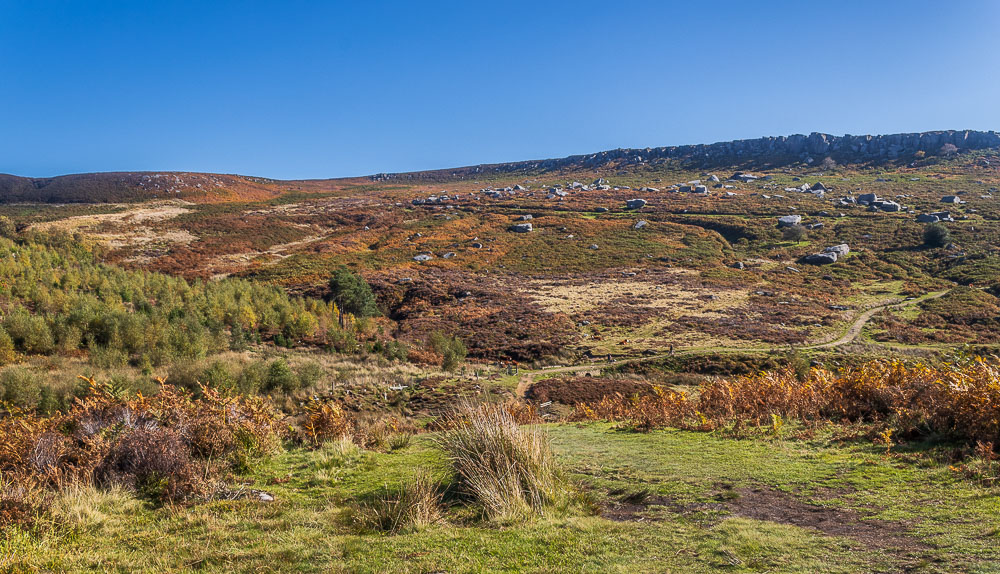
Surprisingly, given how little exercise I have had since coming out of hospital I find the ascent quite easy, if a little warmer than I expected.
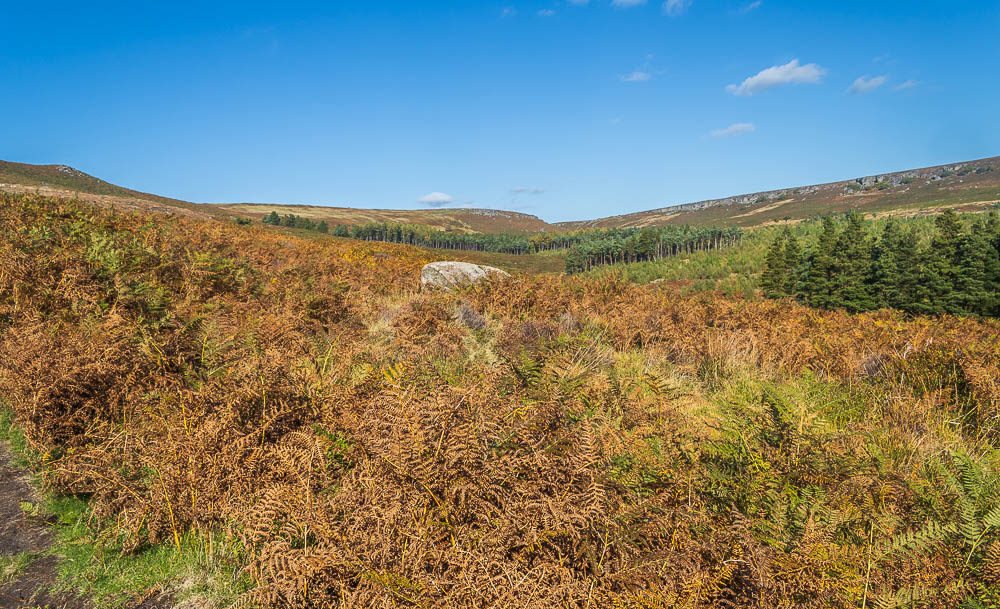
Looking along the valley to Fiddler's Elbow.
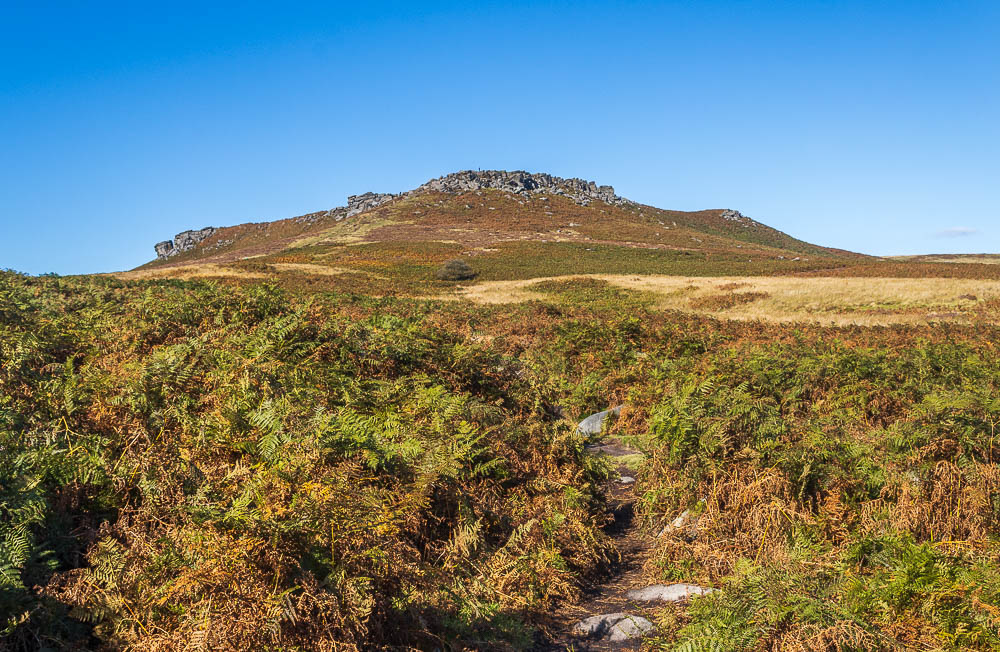
Except for one easily avoided boggy area the path is very dry and it's time to decide if I'm visiting Carl Wark or not.
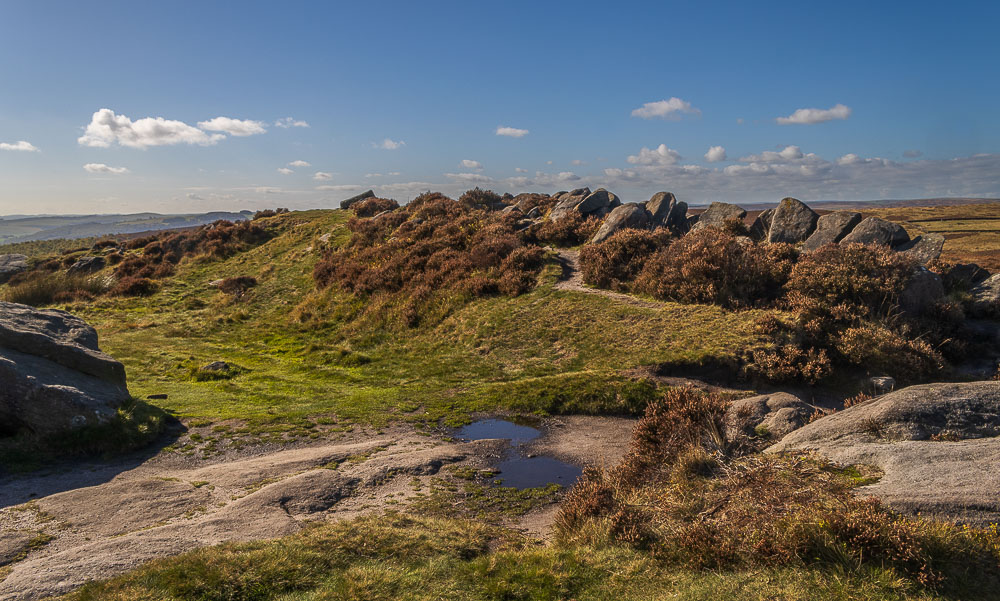
Given how easy I found the ascent I decide lunch on Carl Wark it is.
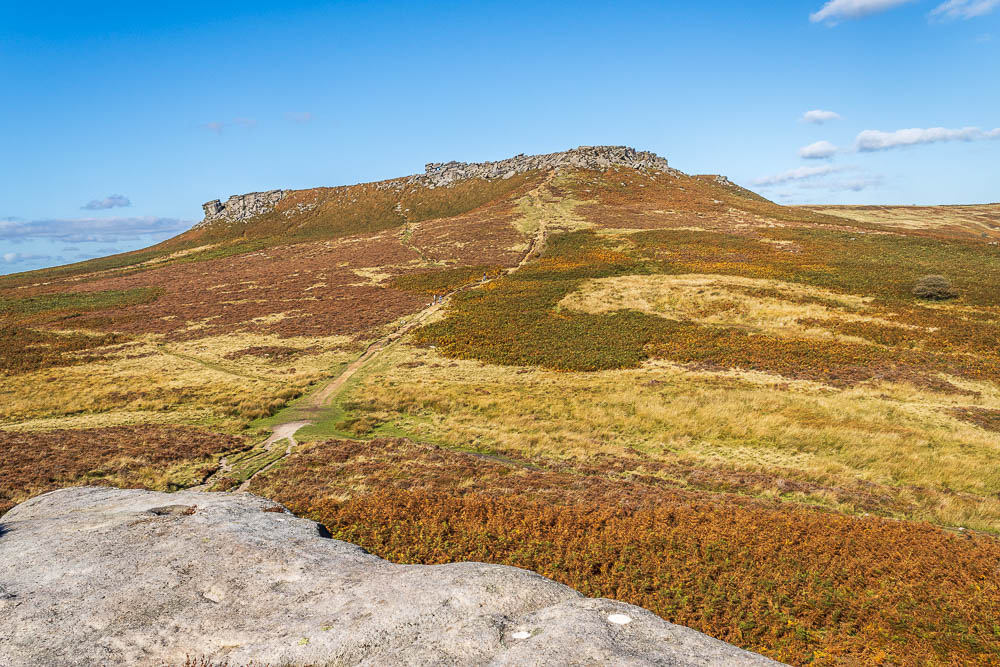
Lunch is spent looking at people ascending and descending Higger Tor and trying to work out which route onto the top looks the best.
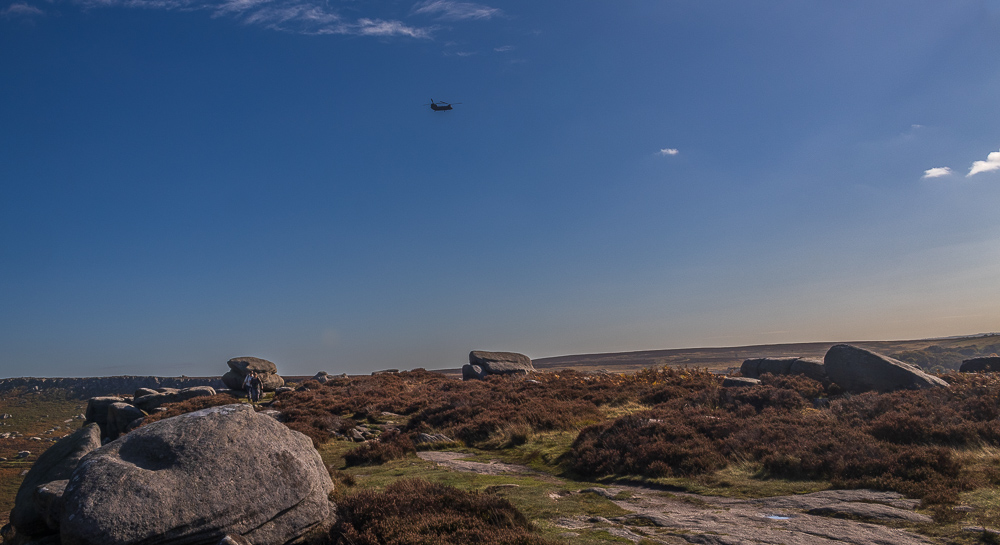
Just as I'm packing up after my lunch a Chinook appears over Burbage Rocks and heads across Carl Wark, for once I have the camera to hand.
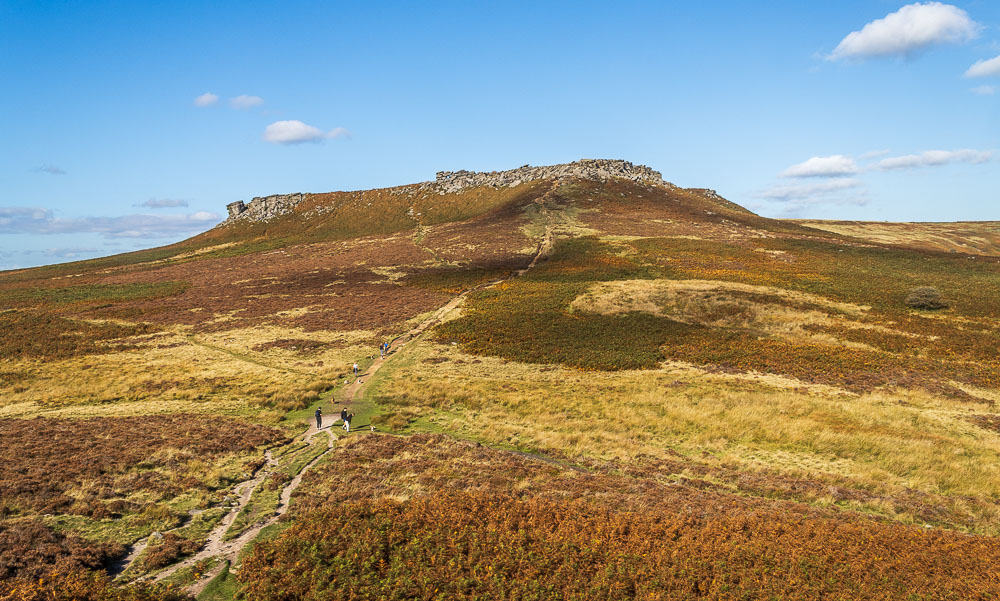
The path towards Higger Tor also gets rather busy and it looks like I might have some people to help me pick a way through the rocks at the top of Higger Tor.
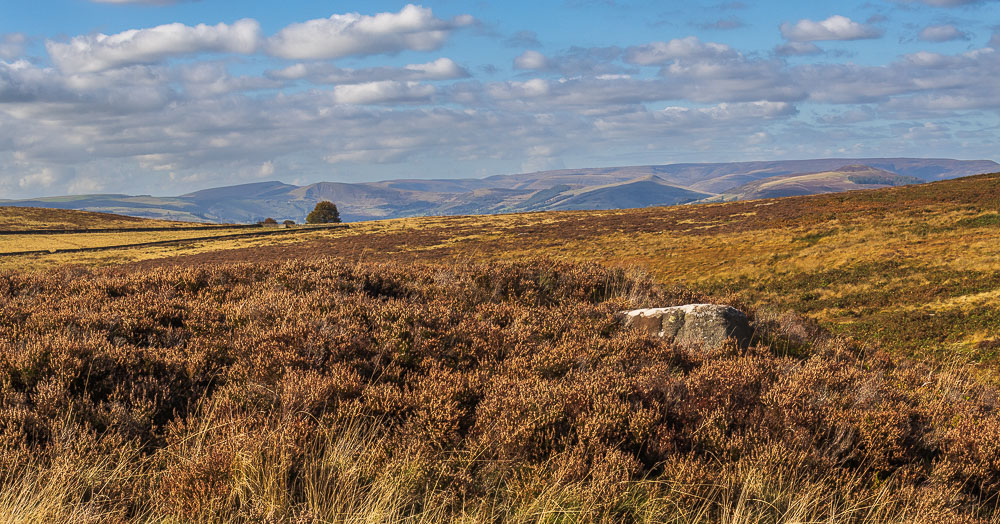
Before I leave Carl Wark I take the time to enjoy the view across towards Mam Tor and Kinder.
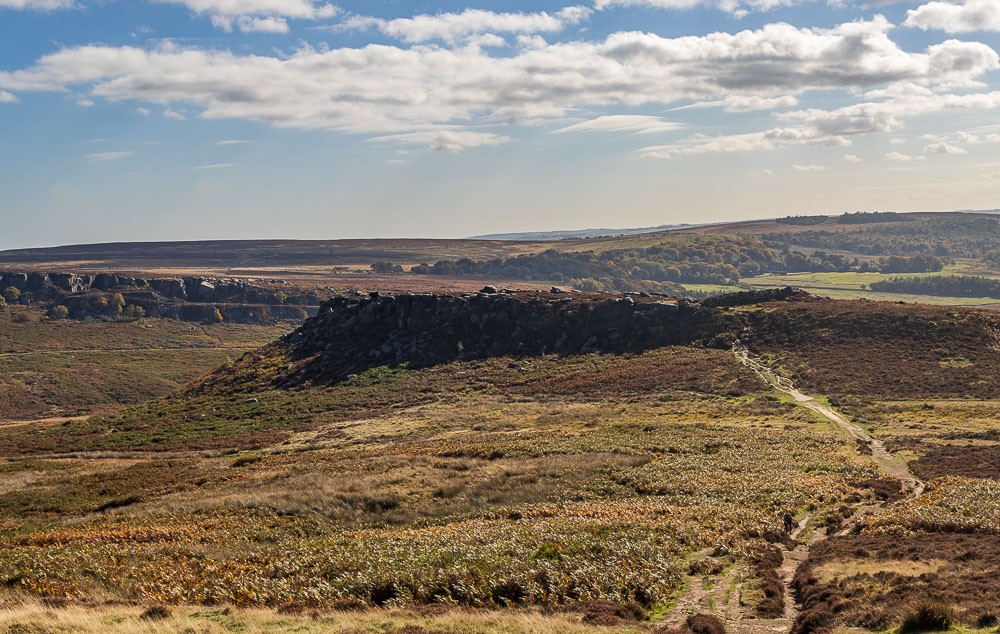
Having stopped for lunch getting the legs going again, especially on the steep bit of the ascent to Higger Tor requires a rest stop, so time to enjoy the view back towards Carl Wark.
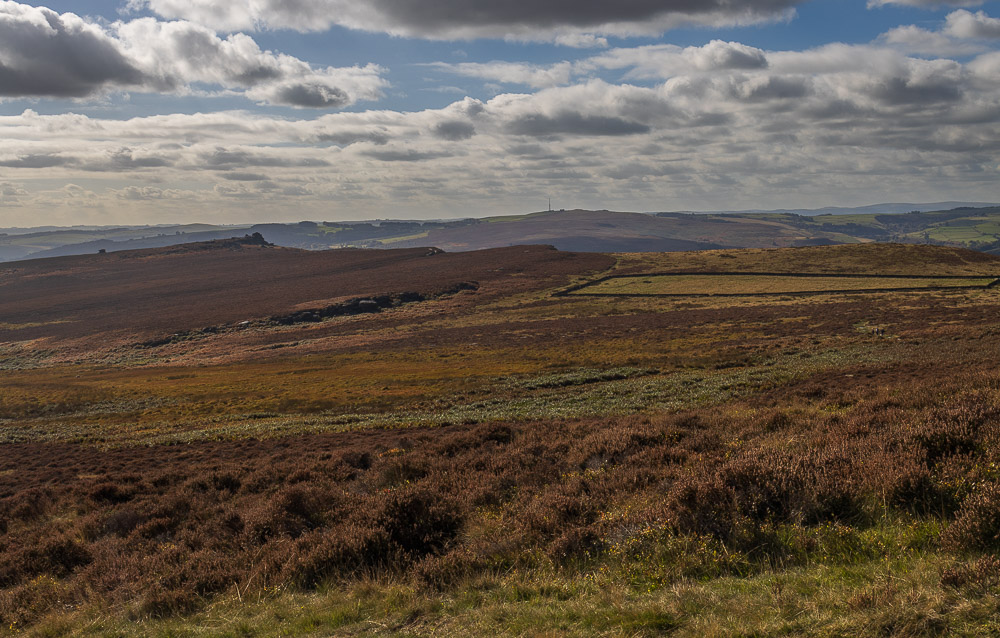
Looking across Hathersage Moor towards Over Owler Tor.
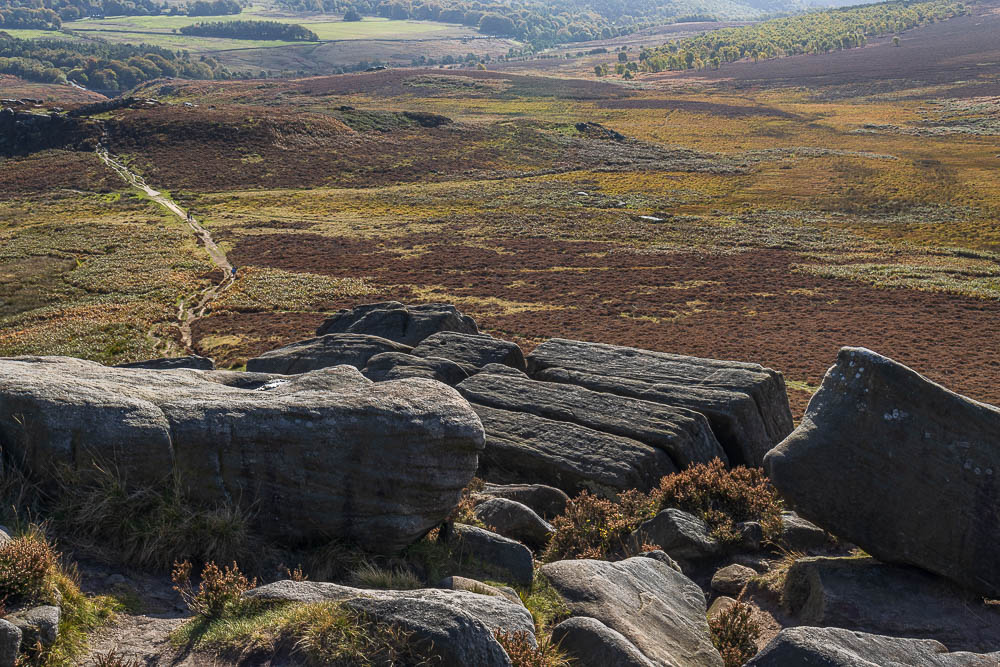
Having managed to pick my way up through the rocks onto the top of Higger Tor I take a few minutes to go and find the KitKat Stones.
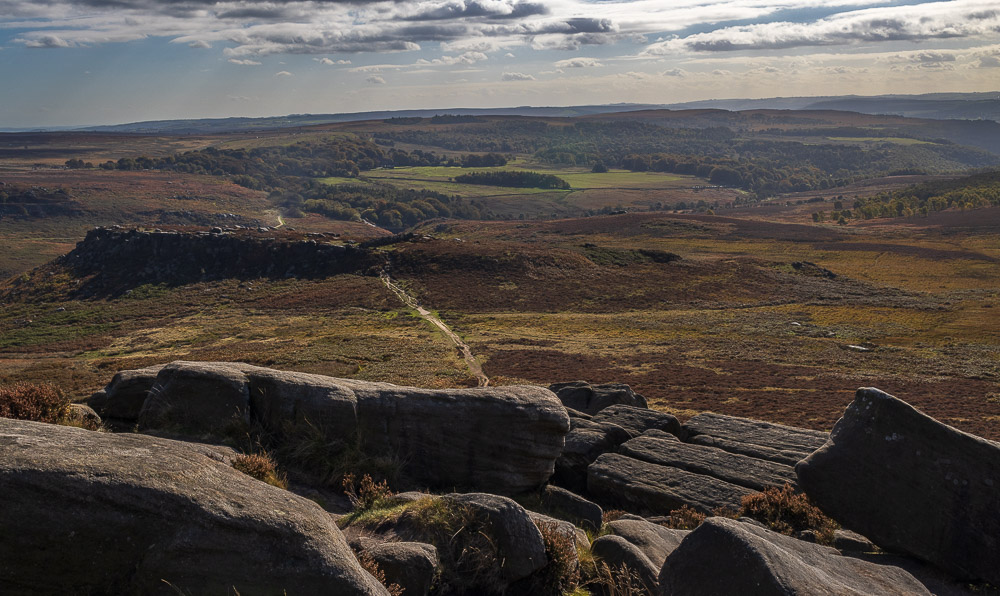
Looking across Carl Wark to Longshaw Lodge and White Edge Moor.
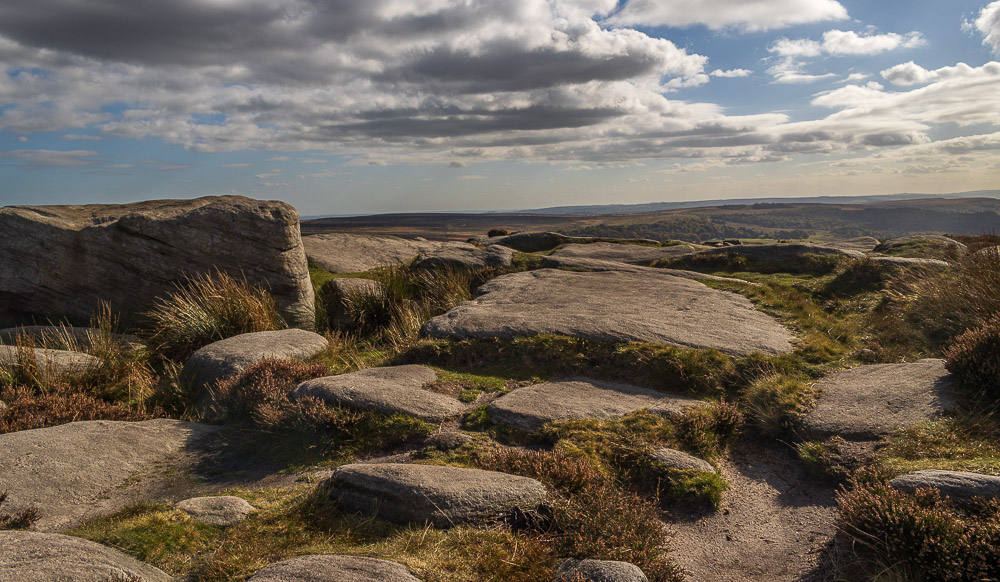
According to my GPS this spot is the location of Higger Tor's summit. Just to be certain I was on the highest point I scrambled onto the rock on the left, which was definitely higher than anything else around it.
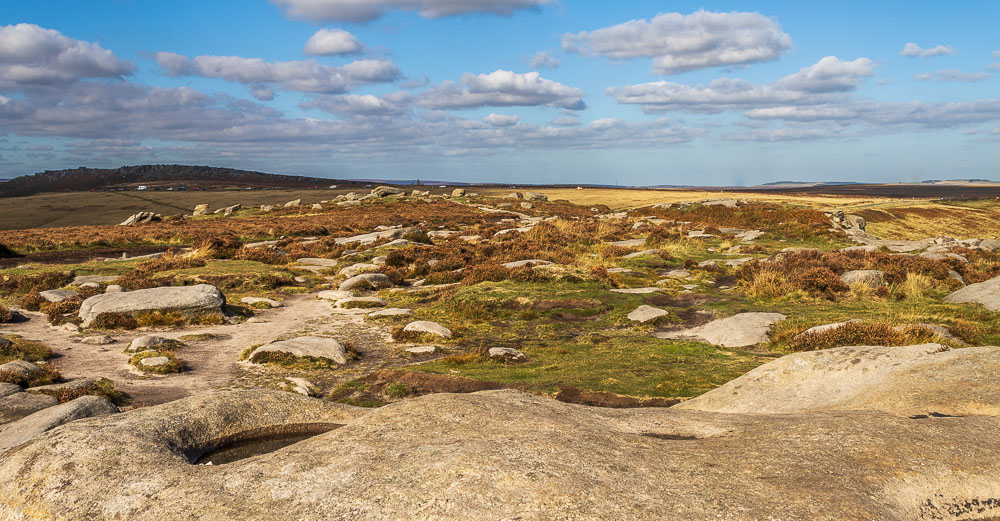
The view from the top of the rock, here looking across Higger Tor towards Stanage Edge.
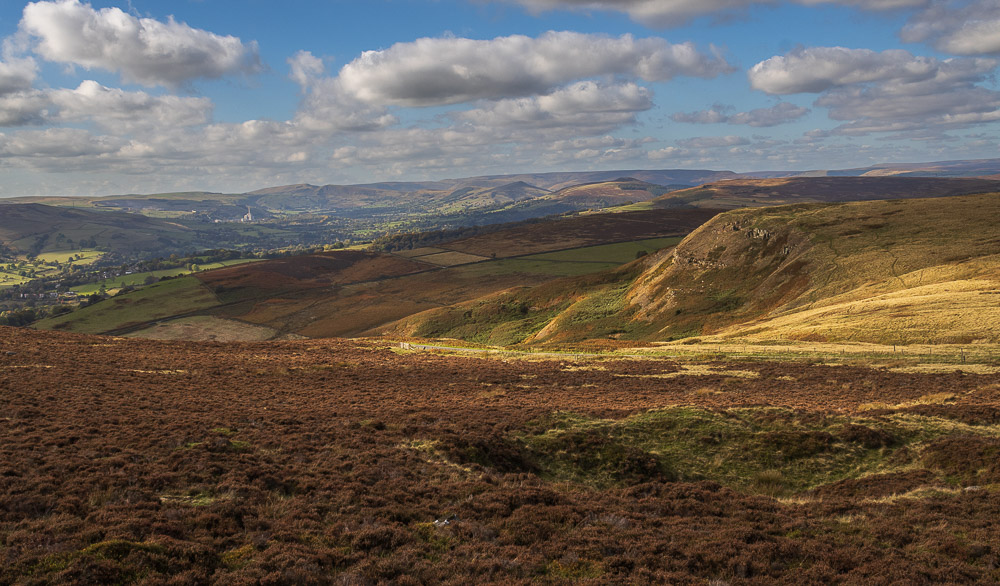
Before dropping off Higger Tor and along the path to Fiddler's Elbow I headed across towards Callow Bank to enjoy the view down the Hope Valley.
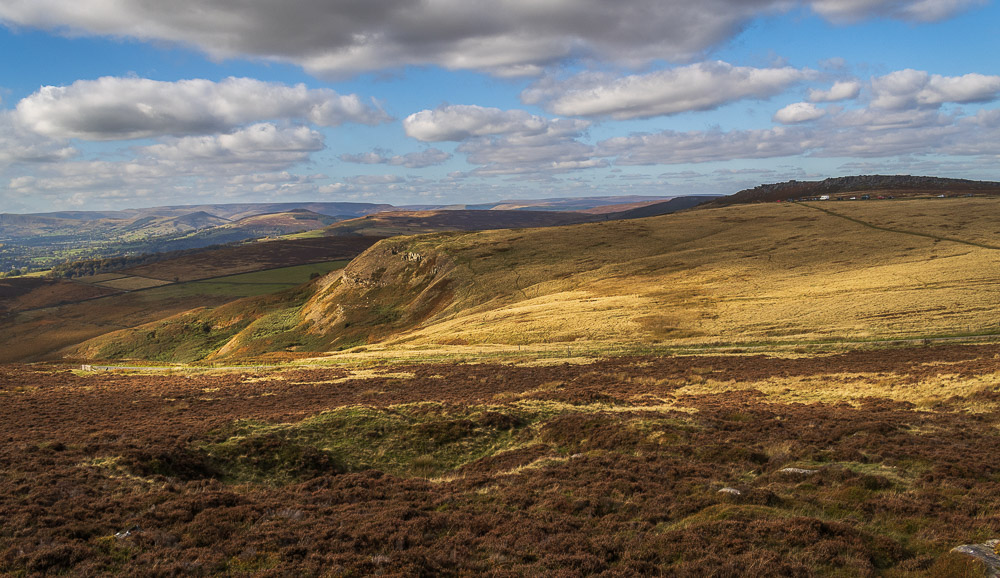
Looking across towards Win Hill and a distant Bleaklow from the same spot.
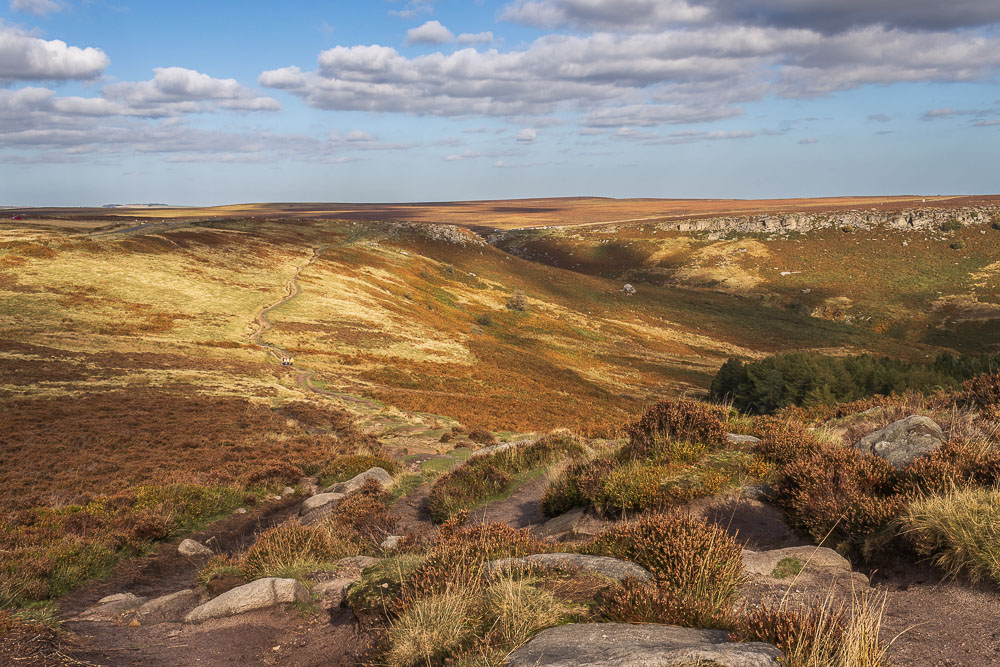
Looking along the path to Fiddler's Elbow, from Higger Tor.
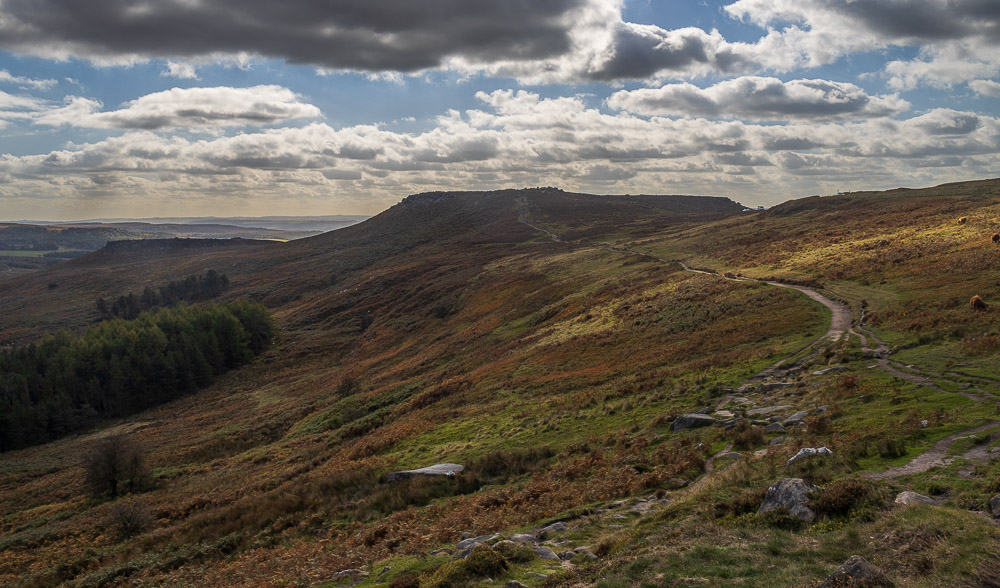
The view from Fiddler's Elbow back towards Higger Tor and Carl Wark, as the sun disappears behind a cloud.
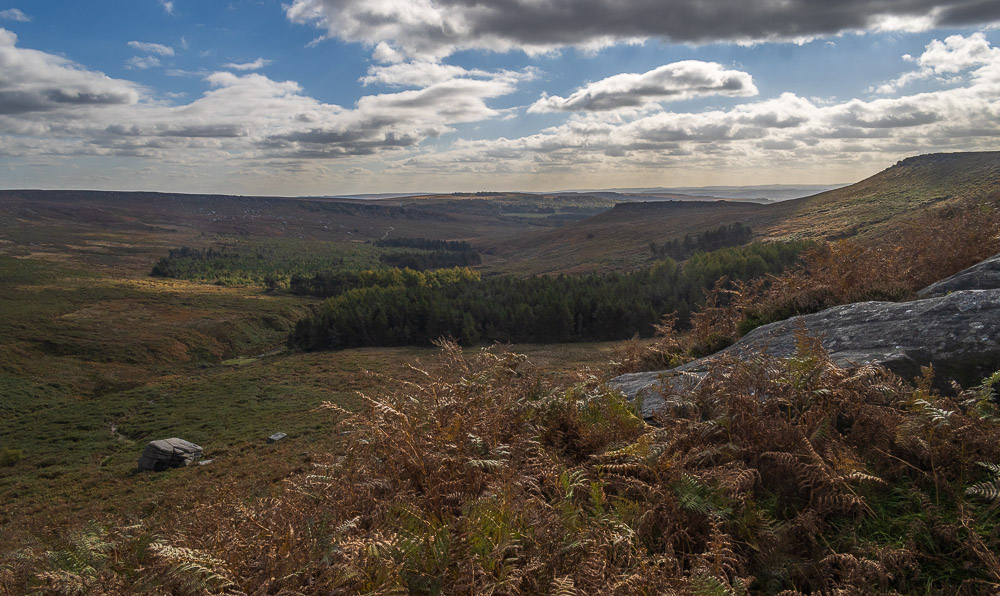
A final look along Burbage Valley before I make the short walk to the gate and my car.
All pictures copyright © Peak Walker 2006-2023